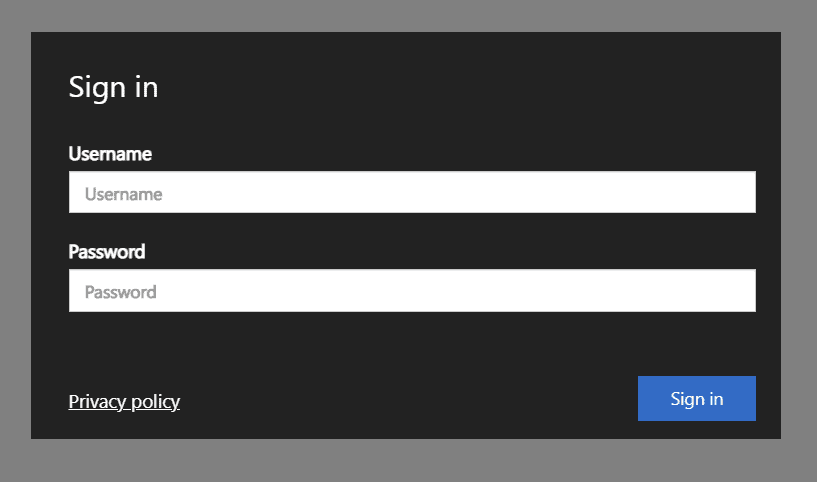
The HTML 5 Remote Desktop Web-Client is available for Windows Server 2016/2019 that is configured as a Remote Desktop Services Deployment at no additional cost.
This allows for devices with a modern web browser to access an RDS server without having to use any additional apps. Which is a perfect solution for Mac and Chrome Book users as it will allow them to use the deployment without needing to install the Microsoft RDP App.

Prior to installation of the HTML 5 Web-Client, please ensure that the RDS infrastructure meets the requirements below:
- RDS deployment has an RD Gateway, RD Connection Broker, and RD Web Access roles are installed on Windows Server 2016 or later.
- RDS licensing must be configured for per-user client access licenses rather than per-device.
- Ensure the RDS Deployment servers have the latest Windows updates installed.
- RDS deployment must have valid SSL certificates issued by a trusted CA on the server containing the Gateway and Web Access roles. (Self-signed certificates do not work!)
Before starting the installation, we need to export the SSL certificate that is used by the RD Web Access role.
- Launch MMC as an administrator and add the certificates “Snap-In” and select “Computer Account” as shown below.

2. Once the Snap-In has loaded, navigate to > Certificates > Personal > Certificates.
3. On the valid certificate that is used for the Web Access role, right-click and select All Tasks > Export.
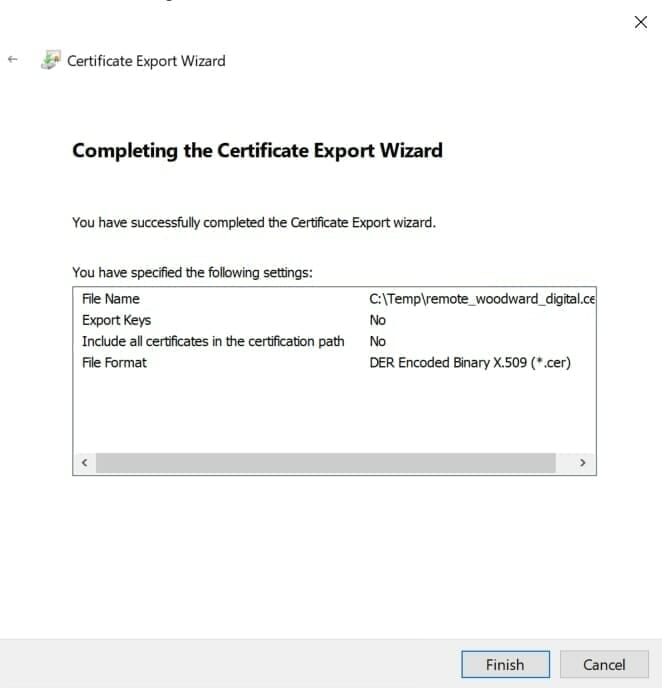
4. Export the certificate using the following options:
Select the format you want to use > “DER Encoded Binary X.509 (*.cer)”
File Name > Save in an easy to reference location i.e. C:\Temp\webaccesscert.cer

Now that we have exported the certificate as a .cer file, we can begin the installation of the HTML 5 Web-Client.
1. Open a Powershell console as Administrator (Right-click run as Administrator) and run the command:
Install-Module -Name PowerShellGet –Force2. Restart your Powershell console for this to take effect. (Close the console and re-launch it as Administrator and run the command:
Install-Module -Name RDWebClientManagement4. Run the command below which will download and install the latest version of the Remote Desktop Web-Client.
Install-RDWebClientPackage5. Using the certificate we exported earlier, run the command below and include the full path and name of the certificate.
Import-RDWebClientBrokerCert "C:\Temp\<Path to file>.cer"
6. Now that the client has be installed, run the command below to publish the client.
Publish-RDWebClientPackage -Type Production –Latest7. The HTML 5 Web-Client is now accessible by using the URL below.
https://<Your FQDN>/RDWeb/webclient/index.html
i.e. https://remote.woodward.digital/RDWeb/webclient/index.html
8. This step is completely optional however, for ease of use for the end-user you can configure IIS to redirect users to the HTML 5 Web-Client.
Launch IIS Managnger on the server that has the RD Web Access role installed and select Sites > Default Website. Once selected then select the “HTTP Redirect” option located under the IIS Section.
Once selected, configure the HTTP Redictet using the options below:
Enable the option for “Redirect requests to this destination”
In the destination field enter the following URL: https://<Your FQDN>/RDWeb/webclient/index.html
Enable the option for “Redirect all requests to exact destination”
Once the options have been saved you can test the redirect is working as expected by navigating to your FQDN. You should then be presented with the HTML5 Web-Client and the installation is completed.
One key point to mention is that the Web-Client is not automatically updated through Windows update and a manual update is required. A further guide on how to do this is available:
https://woodward.digital/update-html-5-remote-desktop-web-client/

