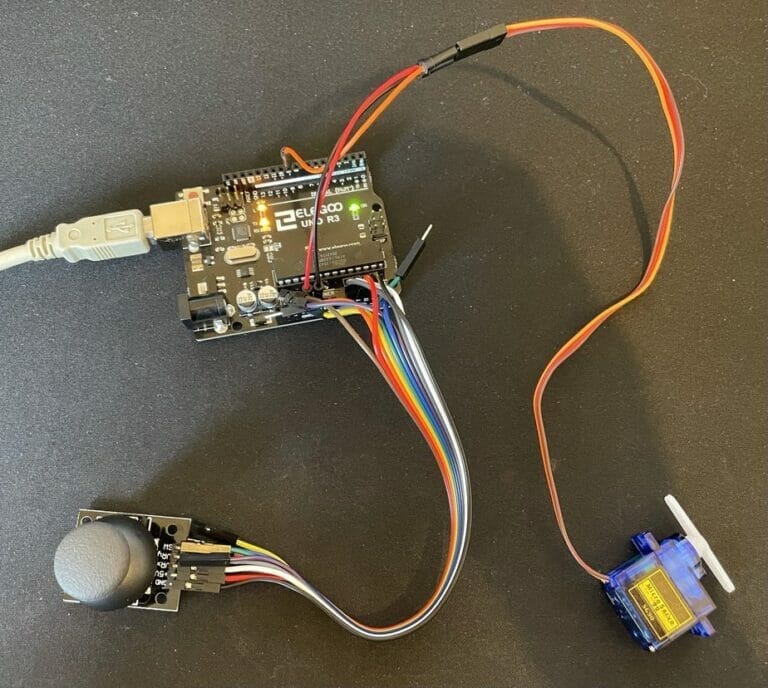
The IR Remote Controlled Laser Cat Toy is now complete. I used an Arduino UNO, IR remote, IR receiver, Laser Diode and two servos to create an IR remote controlled laser cat toy.
WARNING!
Lasers can cause permanent eye damage, ensure that you follow these safety measures:
Only use a low-Wattage laser i.e. 5mw or less.
Never shine a laser at a reflective surface.
Never shine a laser in to anyone’s eyes i.e. Cats, Dogs, Jedi’s, Humans etc.
Wiring Schematics:

Arduino Project source code:
#include <IRremote.h>
#include <Servo.h>
int IRPin = 11;
const int ServoXPin = 9;
const int ServoYPin = 10;

int XValue;
int YValue;
int X_Pos = 90;
int Y_Pos = 90;

IRrecv irrecv(IRPin);
decode_results results;
Servo ServoX;
Servo ServoY;

void setup()
{
  Serial.begin(9600);
  irrecv.enableIRIn();
  ServoX.attach(ServoXPin);
  ServoY.attach(ServoYPin);
  ServoX.write(X_Pos);
  ServoY.write(Y_Pos);
}
void loop()
{
  if (irrecv.decode(&results))
  {
    int value = results.value;
    Serial.println(value);
    switch (value)
    {
      case 25245: //Keypad button "Vol +"
        Serial.println("Move Up");
        Y_Pos = Y_Pos - 15;
        ServoY.write(Y_Pos);
    }
    switch (value)
    {
      case -22441: //Keypad button "Vol -"
        Serial.println("Move Down");
        Y_Pos = Y_Pos + 15;
        ServoY.write(Y_Pos);
    }
    switch (value)
    {
      case 8925: //Keypad button "Pre Track"
        Serial.println("Move Left");
        X_Pos = X_Pos + 15;
        ServoX.write(X_Pos);
    }
    switch (value)
    {
      case -15811: //Keypad button "Next Track"
        Serial.println("Move Right");
        X_Pos = X_Pos - 15;
        ServoX.write(X_Pos);
    }
    irrecv.resume();
  }
}
Don’t forget, cats can get easily frustrated when playing with a Laser as they can not actually catch it. Make sure you switch over to a toy they can catch.
For the full parts list please visit my project on Arduino’s Project Hub:
https://create.arduino.cc/projecthub/woodwarddigital/ir-control-laser-cat-toy-de65e6
Please contact me if you have any comments or suggestions: contact@woodward.digital


Looking at the code, it looks like you can control the movement entirely by remote. I was expecting simple on/off by remote. Good work.